Tired of looking at the same old fixtures in your home? Instead of replacing them, use your airbrush to give them a DIY makeover.
DIY Light Fixture Makeover with Airbrush
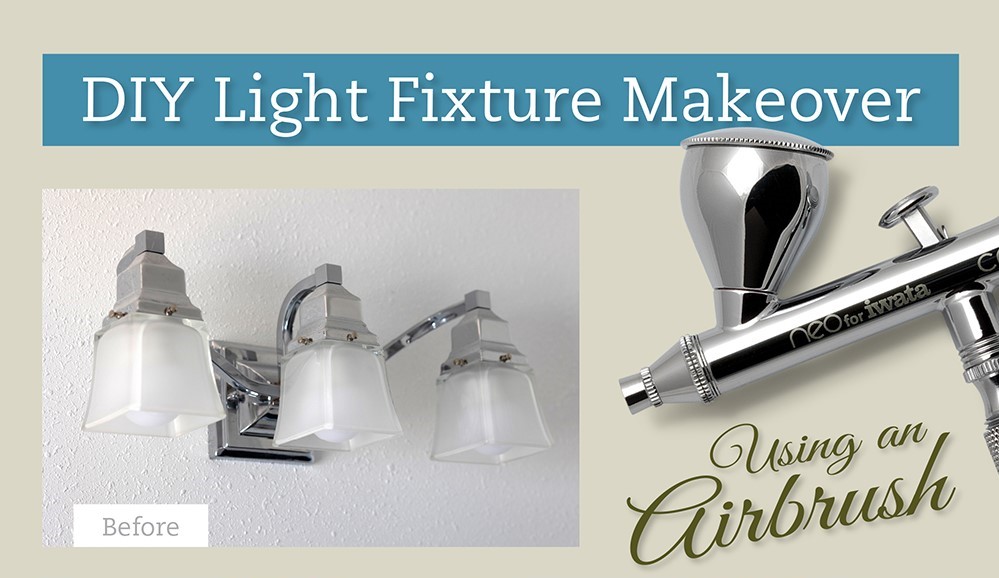
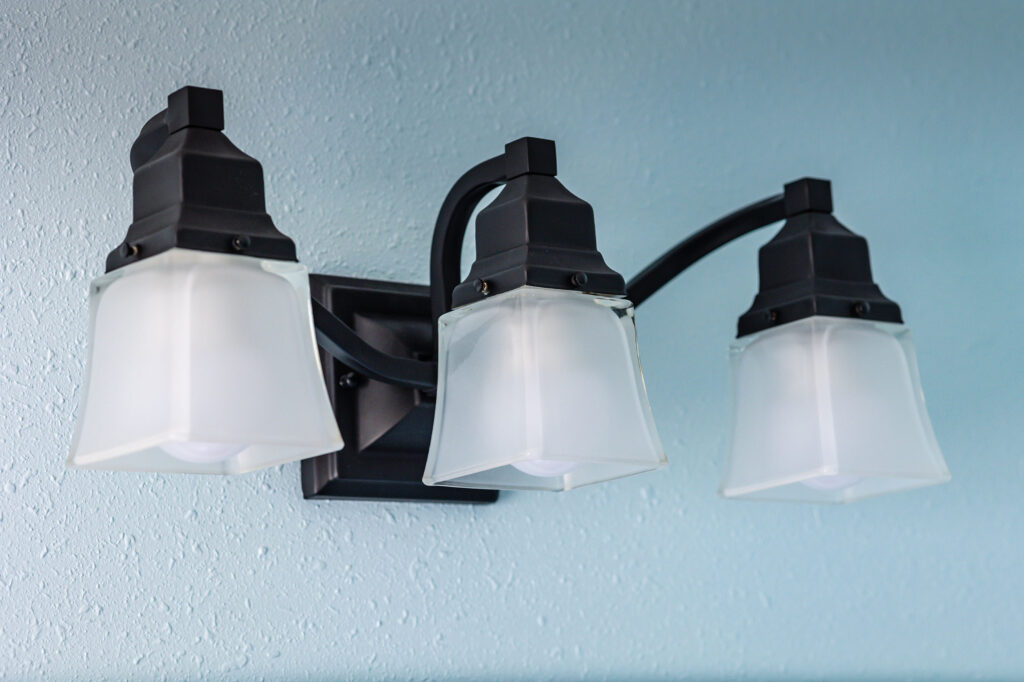
In this article we’ll walk you through a simple example that will give you an idea of how airbrush can be used to a standard light fixture from standard chrome, to dashing black.
When you hear ‘airbrush’ you are probably thinking of body paint, hats and t-shirts or maybe even fine art. But Airbrush isn’t just for creative pursuits. It is a handy tool to apply even coats of color and smooth finishes to a variety of both practical DIY projects.
Unlike regular hand brush, an airbrush can be used apply color and finish without leaving visible brush marks. And unlike spray cans or rattle cans, it is more economical and better for the environment.
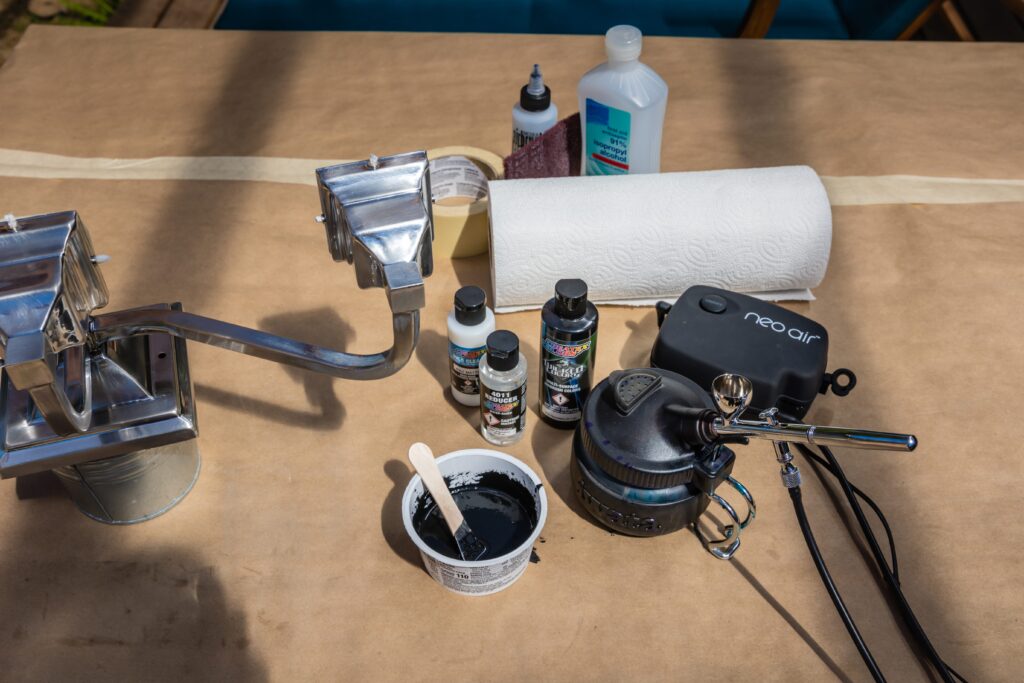
What You will need for this project:
- An airbrush and compressor
( for this project we used one of our NEO for Iwata CN and NEO AIR for Iwata Airbrush Compressors. These items are available separately or as the IW120 kit. This is an affordable combo for getting started. It is ideally suited to low pressure applications or occasional airbrushing)
- Paint and additives
(for this project we’re using Createx Wicked black paint, Createx Reducer, Createx UVLS Clear Matte and Airbrush Cleaner)
- Iwata Universal Spray Out Pot (optional but very handy for holding your airbrush and eliminating overspray)
- Mixing cup and stir stick,
- Paper towels,
- Tape,
- Scuff pad,
- Isopropyl alcohol
1. Project Prep
First, remove the fixture from the wall and take it outside. If this isn’t possible, make sure you at least have a well-ventilated studio or garage. Then lay down either a tarp or strategically placed trash bags. These will block off areas of the room you don’t want painted. Make sure to wear a mask or respirator to protect your health.
2. Prepare the surface
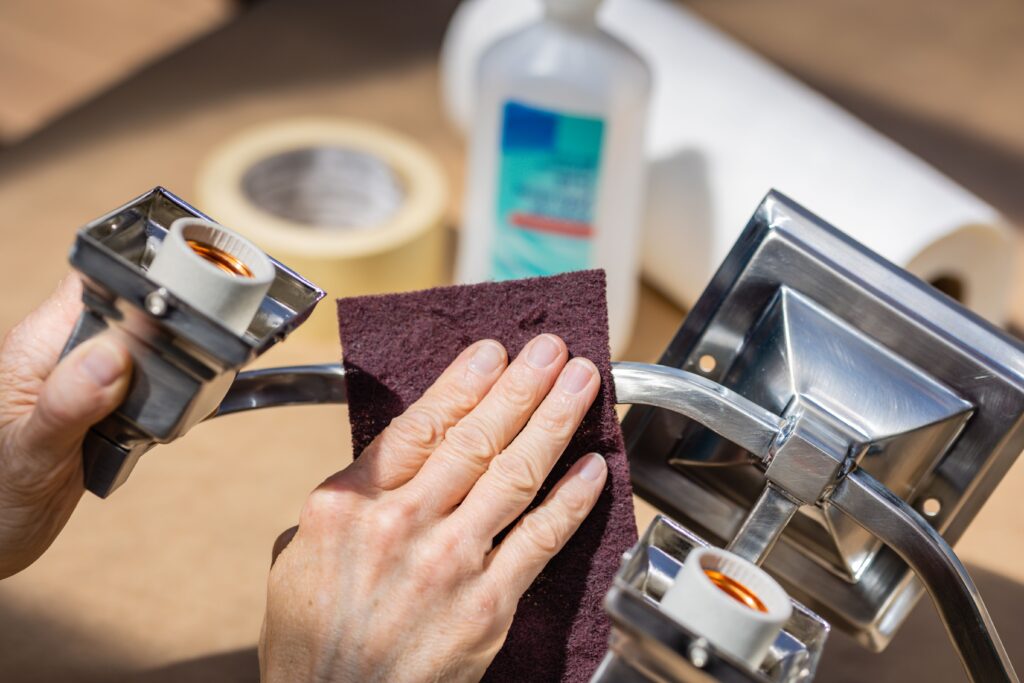
It is important to prepare the surface of the fixture so that it is ready to accept paint. It is difficult for paint to adhere to a completely smooth surface. Without surface prep, your paint might come off of your project. We definitely want to avoid that! To prep the surface of the light fixture, lightly go over the entire fixture with a scuff pad to knock down the shine. Next, use your painters tape to block off any sections of the fixture you don’t want to paint. Finally, clean the fixture with isopropyl alcohol and a paper towel to remove any debris, dust or oil that might still be present.
3. Prep the Paint
Mix the black paint with reducer (to thin) and UVLS clear (to protect and to assist with adhesion) in the mixing cup. Let it sit for a few moments to settle.
4. Add Paint to the Airbrush
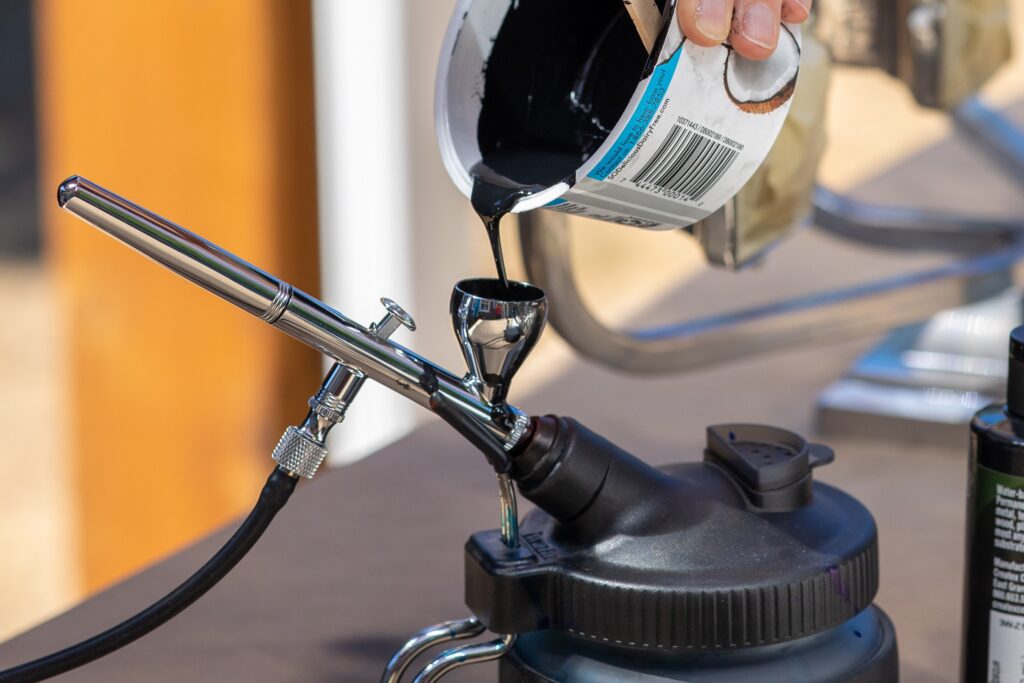
Mix the black paint with reducer (to thin) and UVLS clear (to protect and to assist with adhesion) in the mixing cup. Let it sit for a few moments to settle.
5. Start Spraying
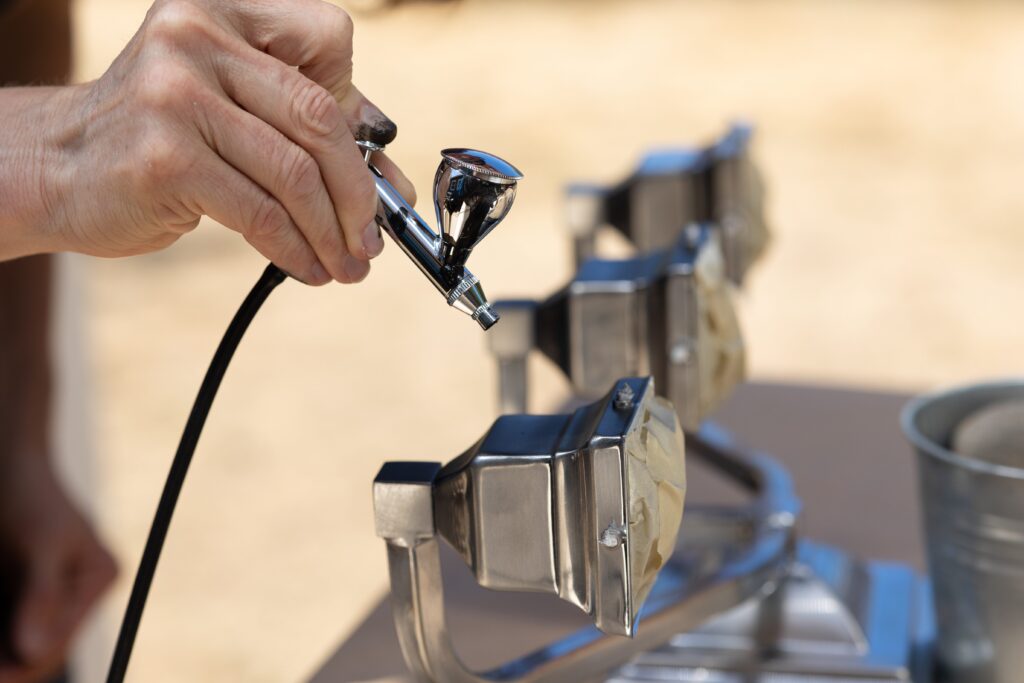
Now for the fun part! If this is your first time spraying with an airbrush, make sure to practice on some scratch paper to get the feel of it. It can take a little bit of practice to pull back just far enough to avoid splotches or “spiders”. If you need some pointers on achieving a good spray pattern read through our resources here: link to spray video. Paint in parallel overlapping bands to build a smooth layer of color.
6. Inspect Your Project
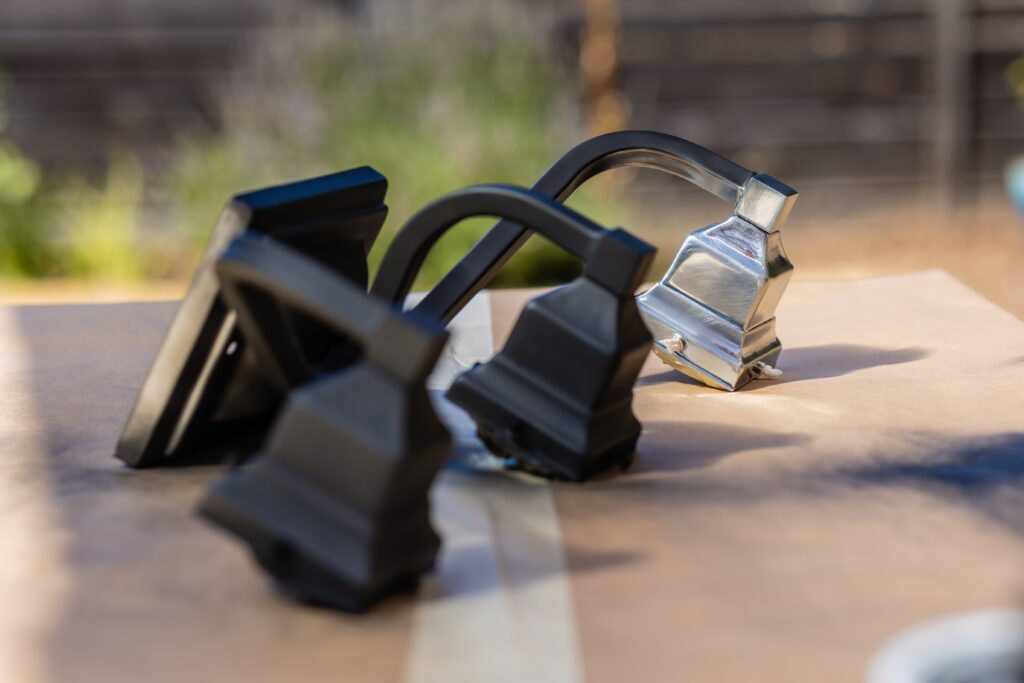
Once you’ve painted the fixture, let the paint dry. Then inspect your work to find any areas that were missed or need more paint.
8. Clean Up
Discard or save unused paint. and clean your airbrush so that it is ready to use next time. Learn how to perform a Deep Clean on our Airbrush Cleaning page.
9. Admire Your Work
If you are ready to start using airbrush for your DIY projects check out our resources for beginners in our Getting Started Section.