How to Paint an Ombre Mason Jar with Airbrush
Spruce up your favorite space with an ombre mason jar. By using an airbrush, you can paint a seamless gradient of your favorite colors without brush marks.
We created this project using our Neo for Iwata airbrush and compressor to spray Createx paint. Feel free to adapt this walkthrough for your airbrush equipment and paint.
Materials Used in This Project
Airbrush Supplies
- Neo for Iwata CN Airbrush
- Neo for Iwata Air Compressor
- Spray Out Pot
- Iwata Washing Brushes
Project Supplies
- Mason Jar with lid
- Bristol board or scratch paper
- Mixing cups
- Gloves
- Paper Towels
Paint and Additives
- Createx Wicked Colors Opaque Daylight –
- Createx Wicked Colors Opaque White –
- Stir sticks (4+)
- Createx Airbrush Cleaner
- Createx 4030 Balancing Clear
- Createx 4011 Reducer
Finishing Touches
- String for bow
Small flower bouquet
Step 1: Mix First Color
The first step is to prepare your first color to be sprayed through your airbrush. We recommend using gloves for cleanliness and safety. Poor your first color, in this example we’re using Wicked Opaque Daylight Blue, into the mixing cup.
Add 4030 to the paint and mix with stir stick. Then add Reducer and use stir stick to mix.
Step 2: Test First Color
Take NEO CN from airbrush holder and turn on the compressor.
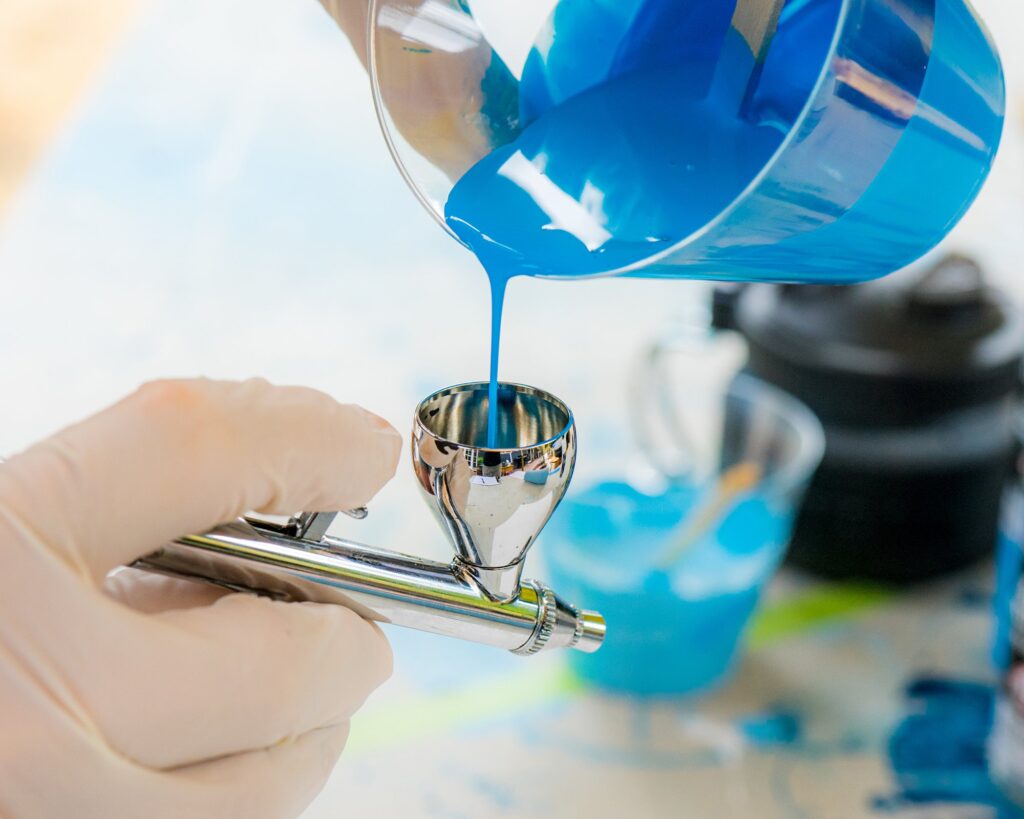
Pour your prepared paint into the airbrush. Test the paint and make sure it sprays by painting a few dots and lines on Bristol board or scratch paper.
Step 3: Spray First Color
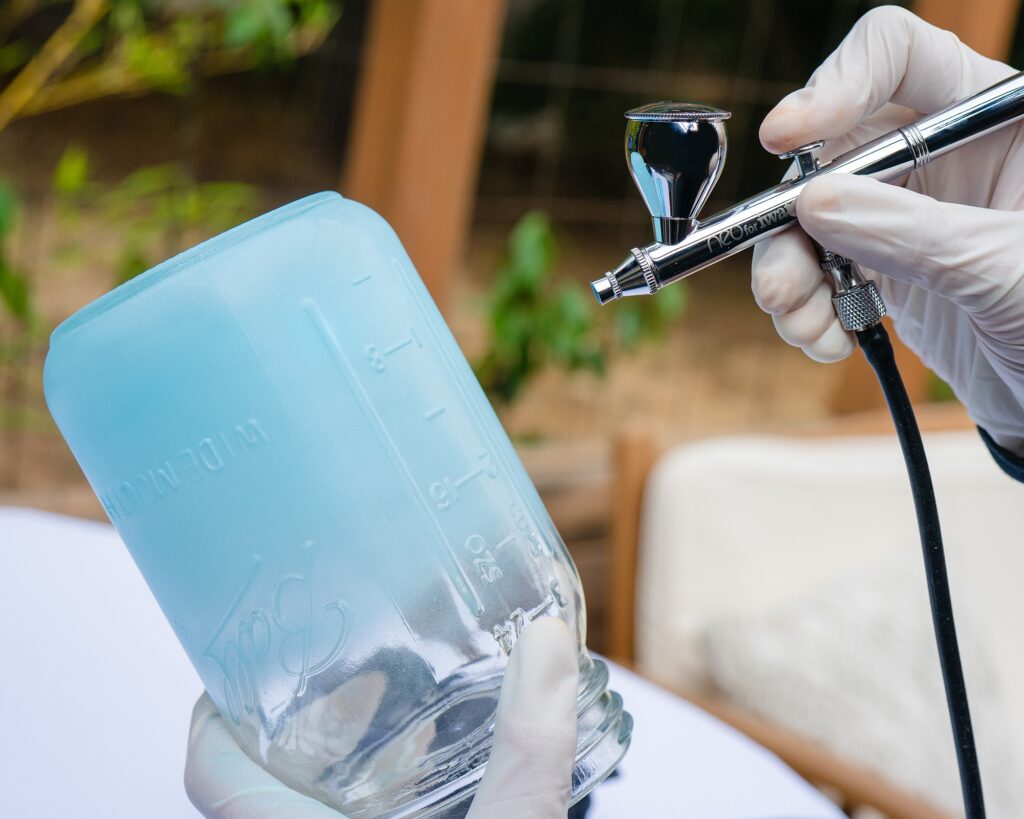
Hold mason jar with gloved hand inside opening. Spray first side of mason Jar starting from around the bottom of the jar and spray all the way up to jar opening – spraying horizontally across the jar. Turn hand slightly to spray the next side of mason jar in the same way. Repeat until each of the 4 sides are coated with the first coat.
Repeat this process until the jar is covered evenly (2-3 coats). Put airbrush in holder. Use 2 hands to lay jar upside down to dry
Step 4: Quick Color Change
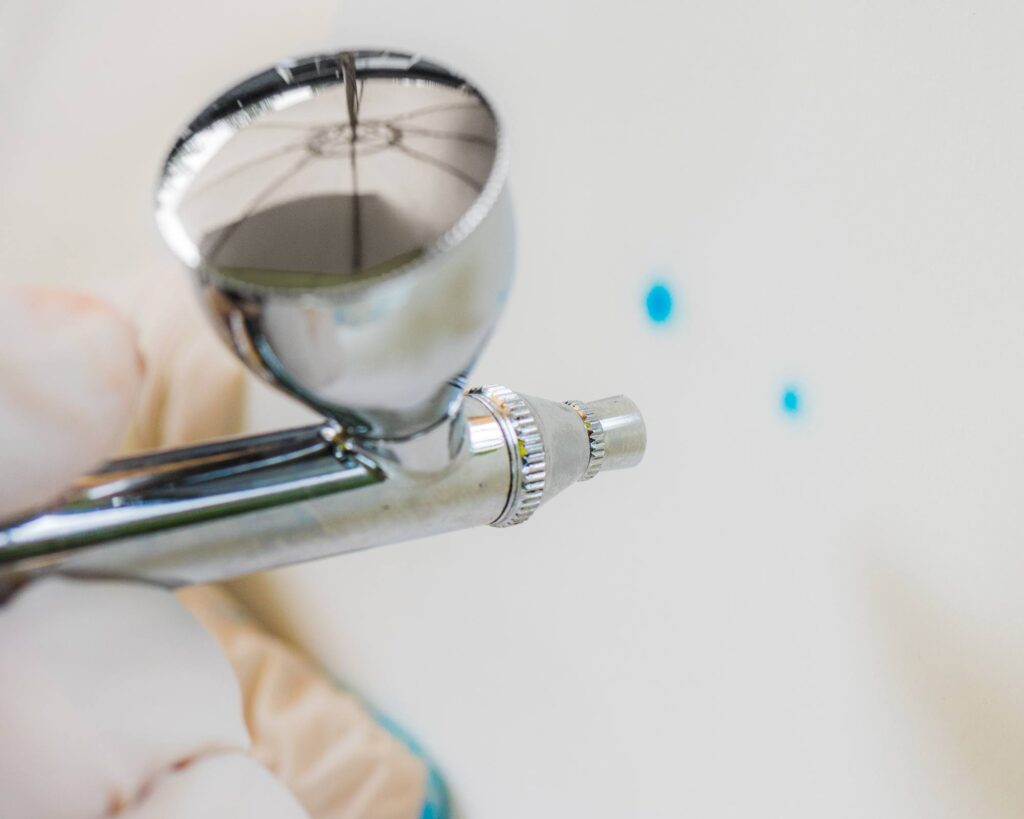
Before switching to the next color, give your airbrush a quick clean.
Watch this video if you need help.
Step 5: Prep, Test and Spray Second Color
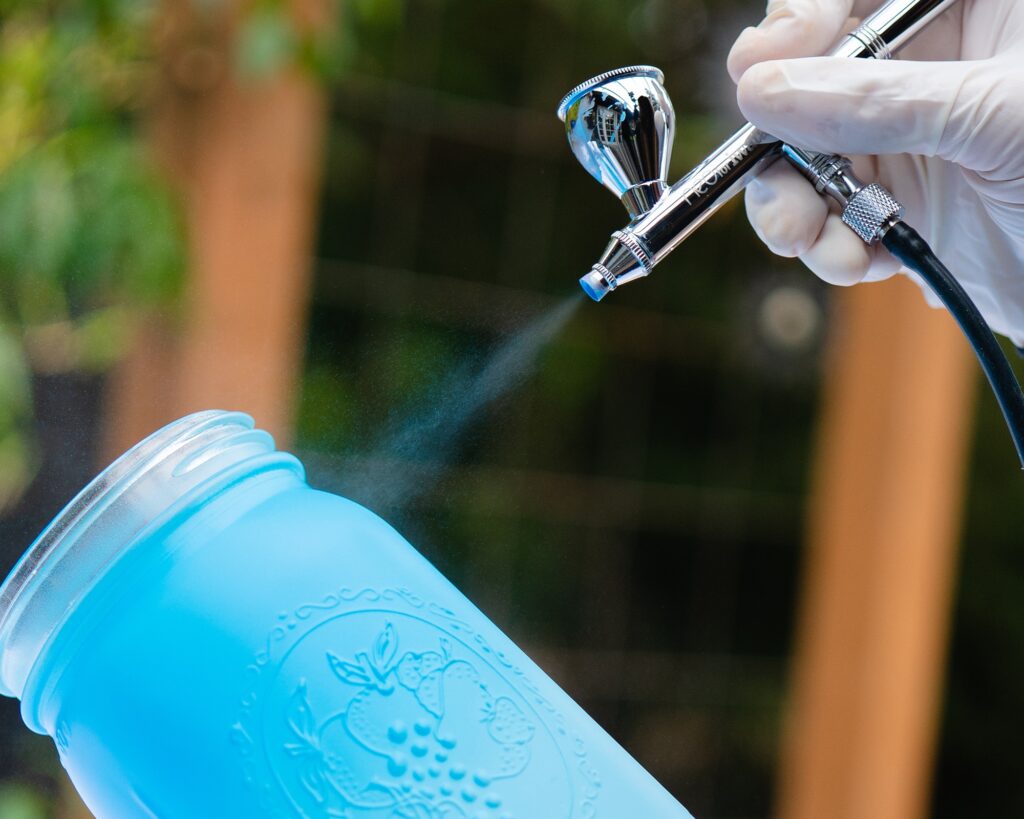
You know what to do! Mix up your second color and add it to your fluid cup. Add your second color the mason jar the same as the first. Make sure all four sides are evenly coated (3-4 coats).
Place your airbrush in the holder.
Lay the mason jar upside down to dry.
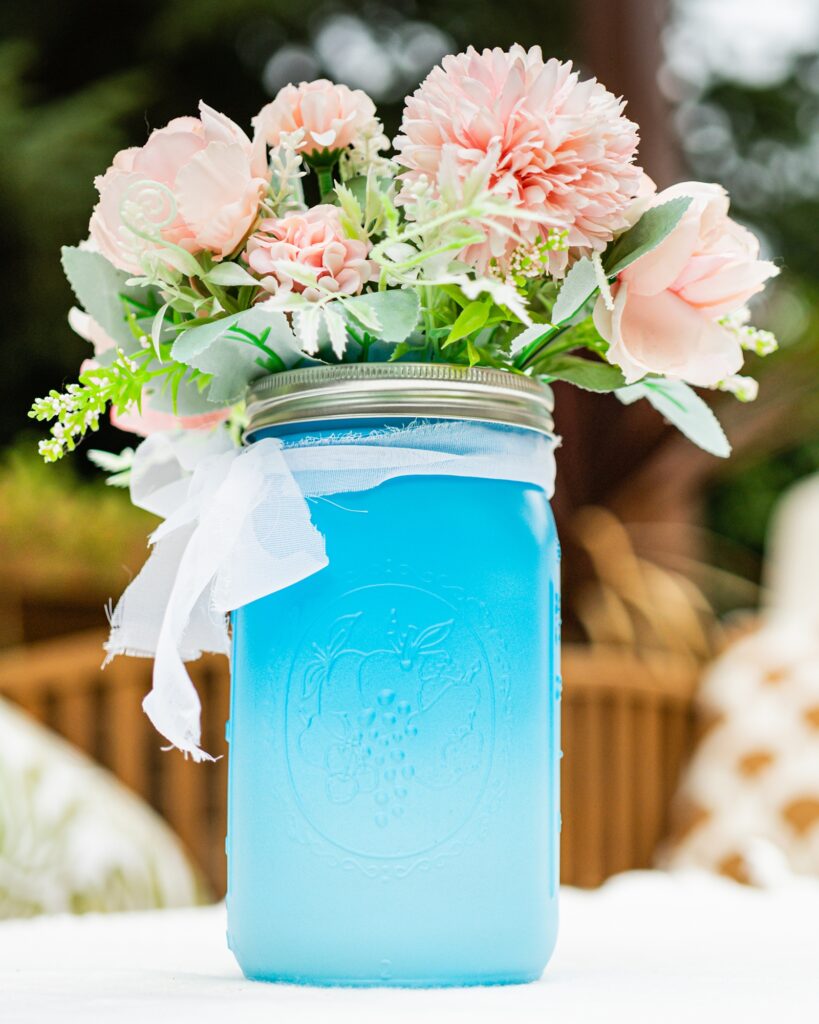
Step 6: Reveal the Ombre
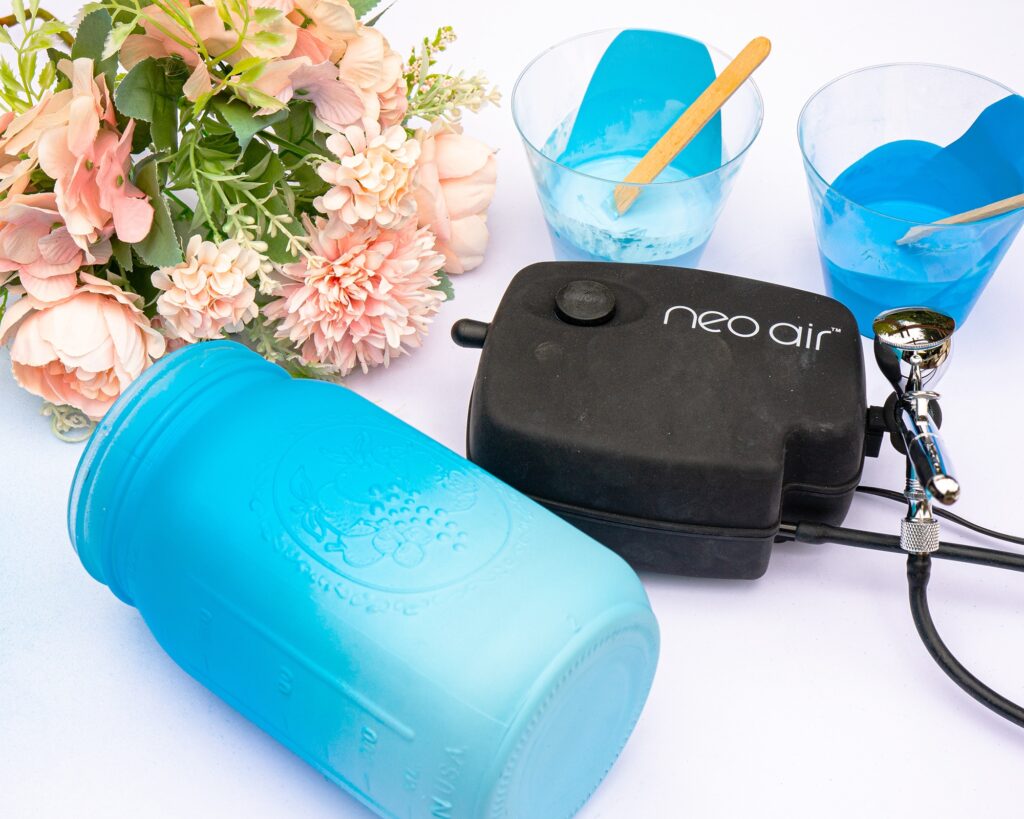
Reveal the ombre and add the finishing touches. We added ribbon and flowers for an eye-catching centerpiece bouquet.
Step 7: End of Spray Session Cleaning
Watch this video to learn how to make sure your airbrush is clean and ready to put away. If you clean the right your way your airbrush will be ready to use next time.
Watch this video if you need help.
Conclusion
Thanks for following along with this project. By using an airbrush, you can paint seamless gradients on all kinds of projects, just like our ombre mason jar.